Mad Deer Press Ltd.
The Idea:
Mad Deer Press is an idea that came to me at Frogman's Workshop this summer. I loved being part of an active printmaking community and wanted to bring that home. Fort Collins doesn't have any printmaking studios outside of academia and is in desperate need.
I have the benefit of already owning a press. I bought my tabletop Takach from a friend in grad school but it doesn't get used with any regularity because of space issues. It is sort of sad to see it sit unused.
Location:
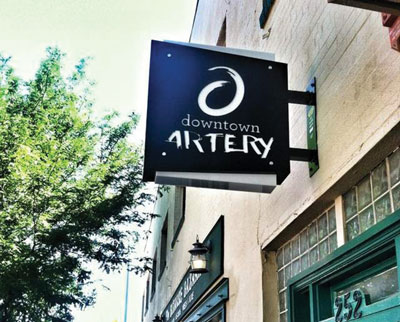
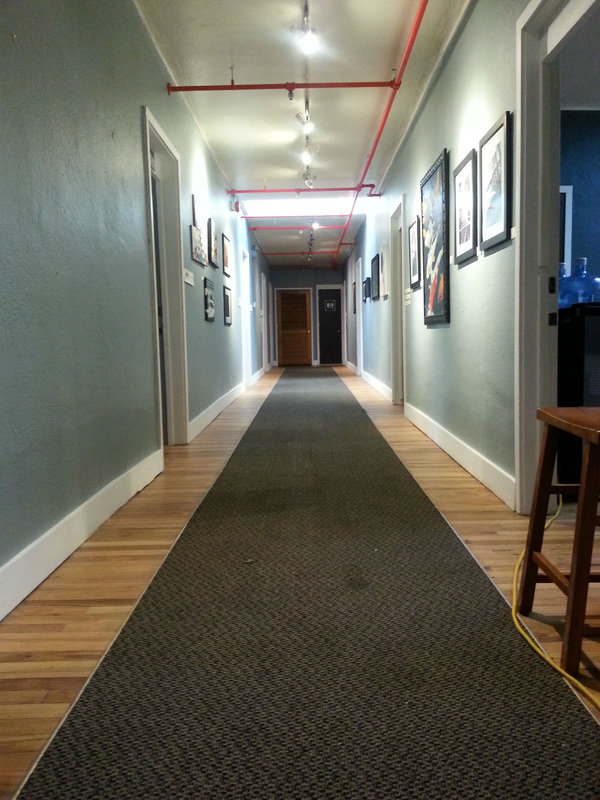
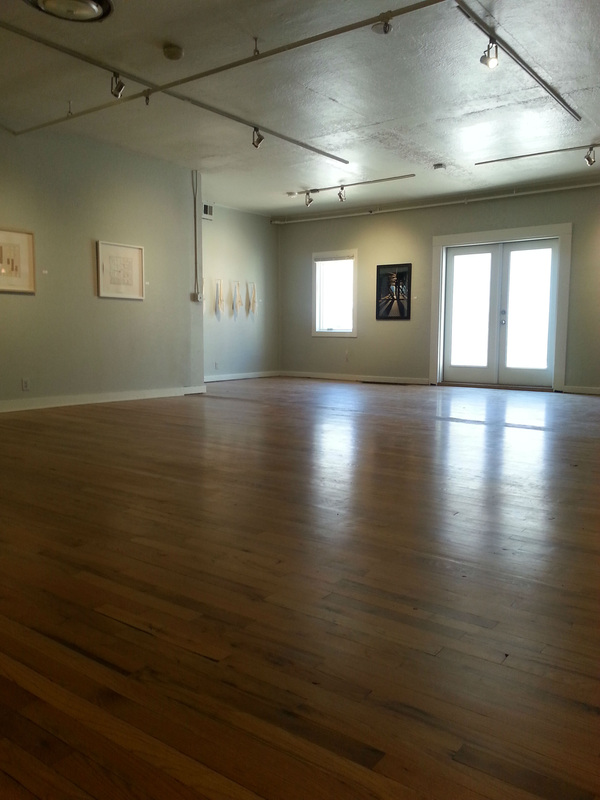
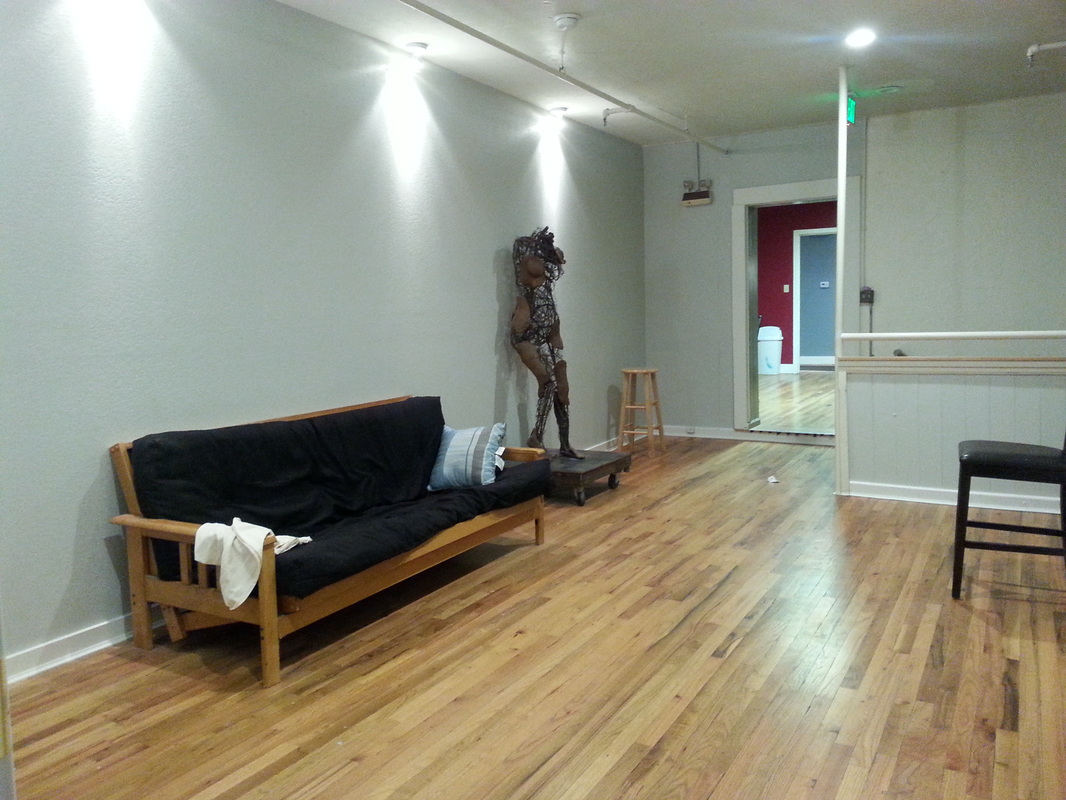
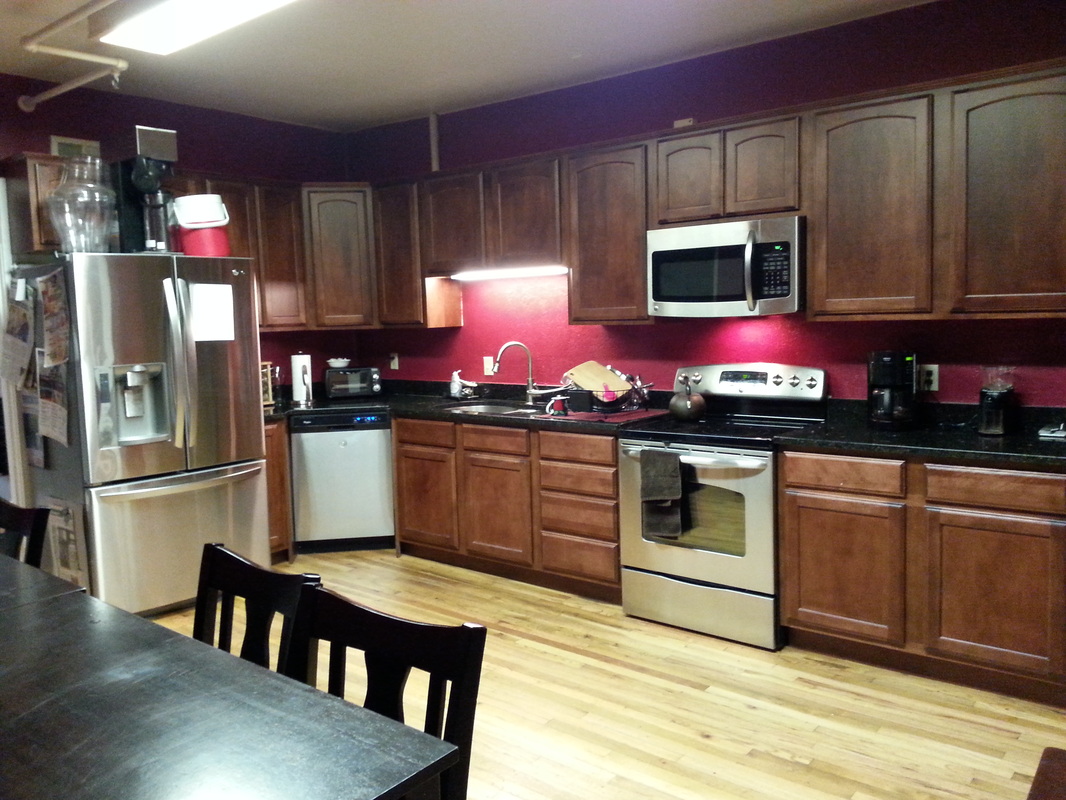
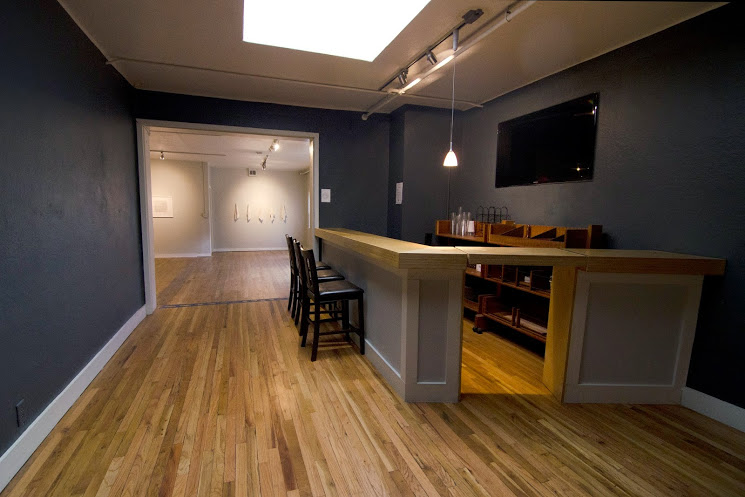
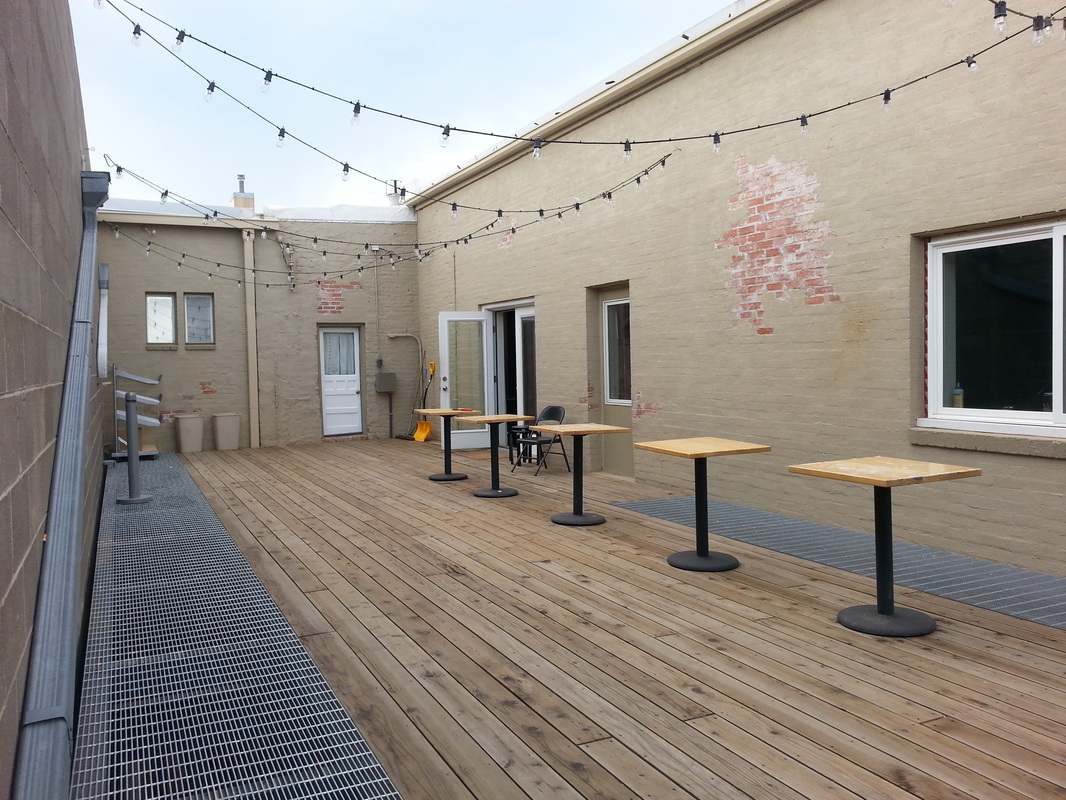
My first step in building my co-op was deciding where I wanted to rent space. I wanted it to be a place that would get foot traffic on First Friday to help get our name out there but also a space that was pleasant to be in. I contacted the Downtown Artery to see if they had a room available. They are a sort of hive for artists: a large, beautiful building with a gallery, and studio space for rent. They promised to hold a spot for us (they had 2 left) if we could get in there soon. The only downside with the Artery is the sink will be across the hall from the studio. The upside though is that Peculiar Press (a private screen print studio) has a screen exposure unit and washout station they are willing to share! The Artery also has a living space, shower and kitchen where visiting artists could potentially stay at $70/night. Rent for our studio is $400 a month and includes utilities.
My first step in building my co-op was deciding where I wanted to rent space. I wanted it to be a place that would get foot traffic on First Friday to help get our name out there but also a space that was pleasant to be in. I contacted the Downtown Artery to see if they had a room available. They are a sort of hive for artists: a large, beautiful building with a gallery, and studio space for rent. They promised to hold a spot for us (they had 2 left) if we could get in there soon. The only downside with the Artery is the sink will be across the hall from the studio. The upside though is that Peculiar Press (a private screen print studio) has a screen exposure unit and washout station they are willing to share! The Artery also has a living space, shower and kitchen where visiting artists could potentially stay at $70/night. Rent for our studio is $400 a month and includes utilities.

Budgeting:
I started by compiling a list of all the things I could possibly imagine our studio needing and how much those things would cost. This wasn't terribly difficult because I do this for the college anyway. I made a dream list. Then I factored in rent and insurance (to protect both ourselves and our equipment) for one year. Amy, the director of the Downtown Artery was able to recommend a local insurance company. I broke my costs into two sections: One Time Expenses (things like furniture, tools, etc.. ) and Start Up Supplies (materials that were needed to open our doors but would be used and replenished from member fees down the line). The total came to roughly $7,949.
I started by compiling a list of all the things I could possibly imagine our studio needing and how much those things would cost. This wasn't terribly difficult because I do this for the college anyway. I made a dream list. Then I factored in rent and insurance (to protect both ourselves and our equipment) for one year. Amy, the director of the Downtown Artery was able to recommend a local insurance company. I broke my costs into two sections: One Time Expenses (things like furniture, tools, etc.. ) and Start Up Supplies (materials that were needed to open our doors but would be used and replenished from member fees down the line). The total came to roughly $7,949.
Membership Rates:
This was difficult. I want our studio to be as affordable as possible but also have everything. I added up our Start Up Supplies cost and divided it across 1 year. I don't think this is the most accurate way to do things because some things are used slowly, some fast, some are cheap to replenish and others expensive. But it got me started. Then I began researching other printmaking co-ops to see what their rates were and what was provided. I looked at Platetone and Spudnik the most. In general, co-op memberships seem to hover around 120/month for active artists. Here is how I have memberships structured for now. I may change this in the future after I have a little experience.
1-3 month commitment: $100
4-6 month commitment: $80
7-12 month commitment: $60
Until things start rolling I won't know what the ideal number of members is. Our room is small and I think 2-3 people in the space at a time would feel full. 8 members seems like a good start.
---EDIT----
After being open for 1 month I have decided to treat my previous rates as a start-up special and transition to a new membership rate. Members who have already joined are locked in at the lower rates but I have moved to a simpler $100/month flat rate. This simplifies things and helps cover the bills when I have fewer members. I also added a mandatory $20 studio orientation (waived during the start-up special) and a $25 one-time fee for users who want a flat file drawer.
Raising Money (Kickstarter):
To raise the money I decided to go through Kickstarter, a crowd sourcing platform I have had success with raising money for a residency in the past. I put together a campaign and video explaining why we needed help and how the money would be spent. I asked for $8,500 because Kickstarter takes a cut but also to help cover the cost of shipping rewards.
You can see our Kickstarter here
Here is how I advertised our campaign:
-Contacted everyone I knew including family, friends and local printmakers
-Designed and posted flyers around the town, primarily at art stores, galleries, coffee shops and bookstores
-Created a Facebook page for Mad Deer. To keep the site from becoming a plea for donations I started Printmaker of the Day, where I post work by a different artist everyday. This also helps make the business part of the studio a little more fun for me.
-Contacted every printmaking studio across the country that I knew of requesting assistance in getting the word out, mostly through re-posting of our Facebook link to the Kickstarter. I figured printmakers are cool and like helping each other and I was right, we received a large number of pledges from across the nation.
You can see our Facebook Page here
Raising Money, continued... (Community Funded)
This was an all or nothing campaign. As you can see, we didn't reach our goal. However, the Kickstarter got our name out there and gave me a feel for how much support was a realistic request. I found out that while many people were happy to contribute financially to Mad Deer, there were also supporters who wanted to help in other ways. I received many offers for equipment donations (desks, bookshelves, printmaking tools, etc). These generous donations were reducing the money needed for the One Time Expenses.
I decided to give our project another go. This time I chose a new platform: Community Funded, a crowd sourcing platform that was built here in Fort Collins by a local coffee shop owner. It is unique for a number of reasons including:
-Allows supporters to offer their own rewards for the project
-Allows the project to charge shipping for rewards. This helps with bookkeeping because I no longer needed to factor that into our total budget request
-CF campaigns can be donation based rather than all-or-nothing, allowing us to keep whatever is pledged. This makes a the campaign a lot less stressful.
For our CF campaign I shuffled our budget to account for the donated goods and cut our request from 12 months of rent & insurance to 6 months. I also cut out some items I figured we could save up for over time but didn't necessarily need right away. The saddest thing to cut was the visiting artist program. I see this as a crucial part of our studio though so I will have to do some research to try and find a way to fund it in the future.
You can see our Community Funded campaign here
Through Community Funded I raised $1,420! Although far short of my initial goal I decided to dive in anyway and see if I could make things work. I began researching less expensive ways to build the things I needed to get Mad Deer up and running. I'll talk more about this later.
The Business and Professional Stuff:
The city of Fort Collins offers business classes for $30 (as an FRCC employee I was offered a discount on top of this very reasonable rate) so I attended one specifically addressing registering a business. Registering as a Limited Liability Company, (aka LLC or Ltd.) helps protect me from getting sued should someone injure themselves using the equipment. You can start a business without an LLC but then your assets (your home and car for example) become a part of the business. It is much safer to operate as two separate entities. I registered online with the Colorado Secretary of State. It was surprisingly easy. Cheap too- they had a surplus this year and were running a special so it only cost $1 rather than the usual $50!
On top of this I needed insurance for my business. Just in case. I contacted the Downtown Artery (the artist hive) and asked who they were using. They were able to recommend a local insurance company.
During the business meeting they discussed the benefit of separating your business account from your personal funds. Common sense says this is a good idea anyway. I keep track of money in and money out using this bookkeeping record.
.
|
Getting Our Name Out:
I realized that while my Facebook page has a large audience, it might be more convenient if people could find our information on a professional site. I decided to make our own website. Weebly offers free domain names and web hosting. They are very easy to navigate, being entirely drag-and-drop. Putting the site together was a breeze. You can see our website here What I like about having this site is we can link our members' sites to our page. It gives a clear presentation of the printers working at our studio. I think people considering membership will find it encouraging to see work by current members. I splurged on fancy business cards. Moo.com has the nicest (in my opinion). Their cards come on a heavier stock paper with a nice matte finish but if you are looking for a more economical option, check out Vistaprint.com |
|
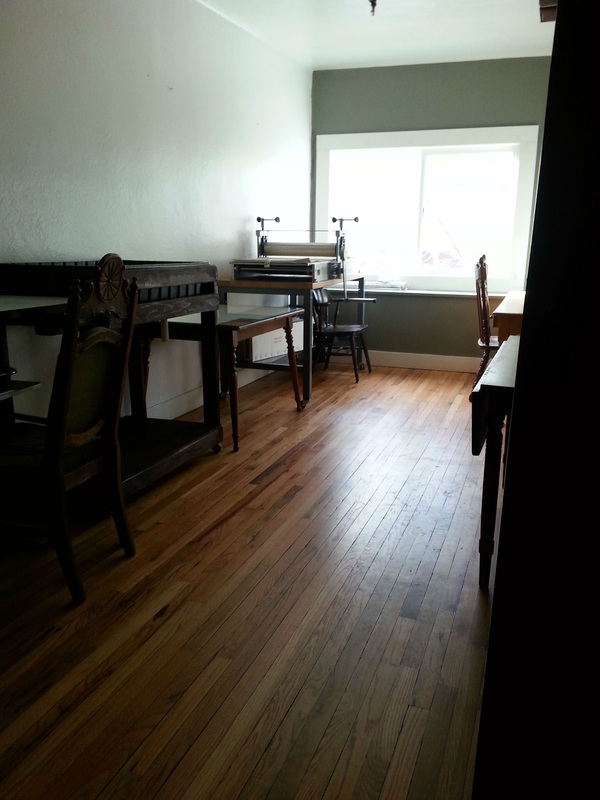
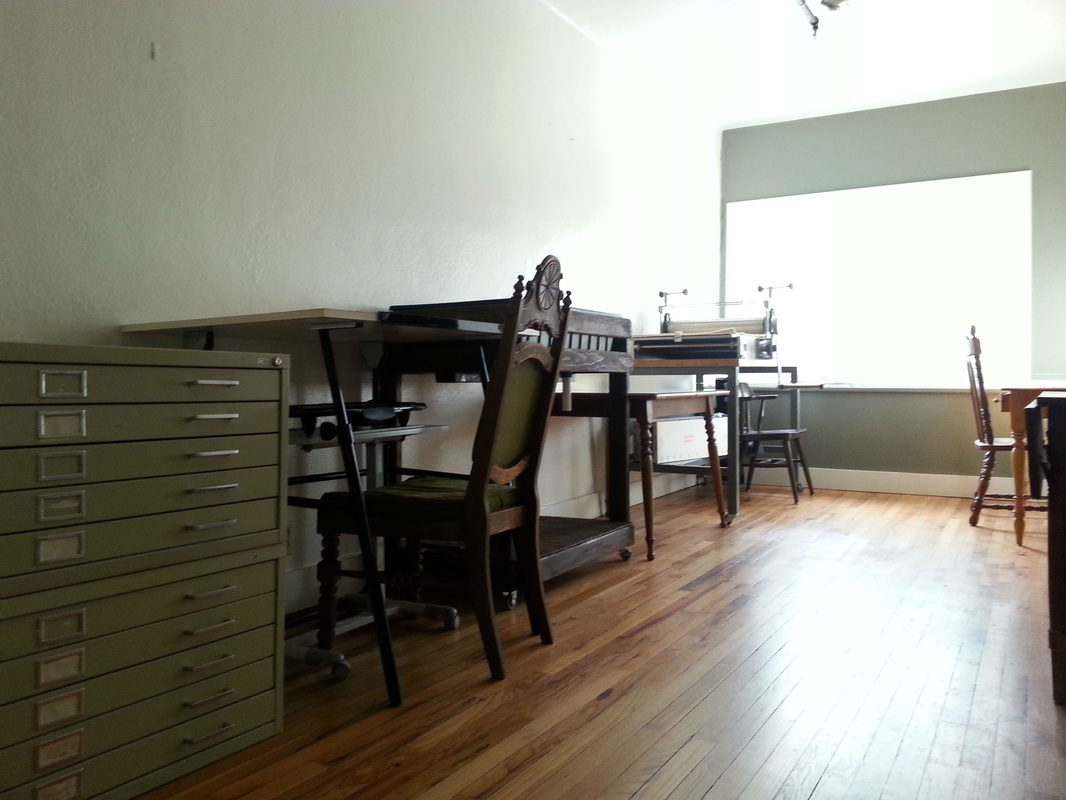
Putting the Studio Together:
Now the fun stuff! Here are some of the issues I ran into:
Moving the Press:
These things are really heavy. It took 6 bodies to get ours up the flight of stairs and into the studio. And that is after we took the bed off and disconnected it from the table! We also needed to borrow a trailer to move it across town.
Drying Paper:
We might be able to fit drying racks in our space but a) they are crazy expensive- even used and b) I like having room to move. So I think what we might do is a technique I learned at Oehme Graphics where you pin your print directly to the wall to dry. Putting thumbtacks every couple inches around the edge forces the paper flat as it dries. Of course we can't pin into the wall of a rented space so the plan right now is to buy some homasote- a material sort of like cork board. Then we can poke it full of holes without wrecking the wall.
Dry Studio:
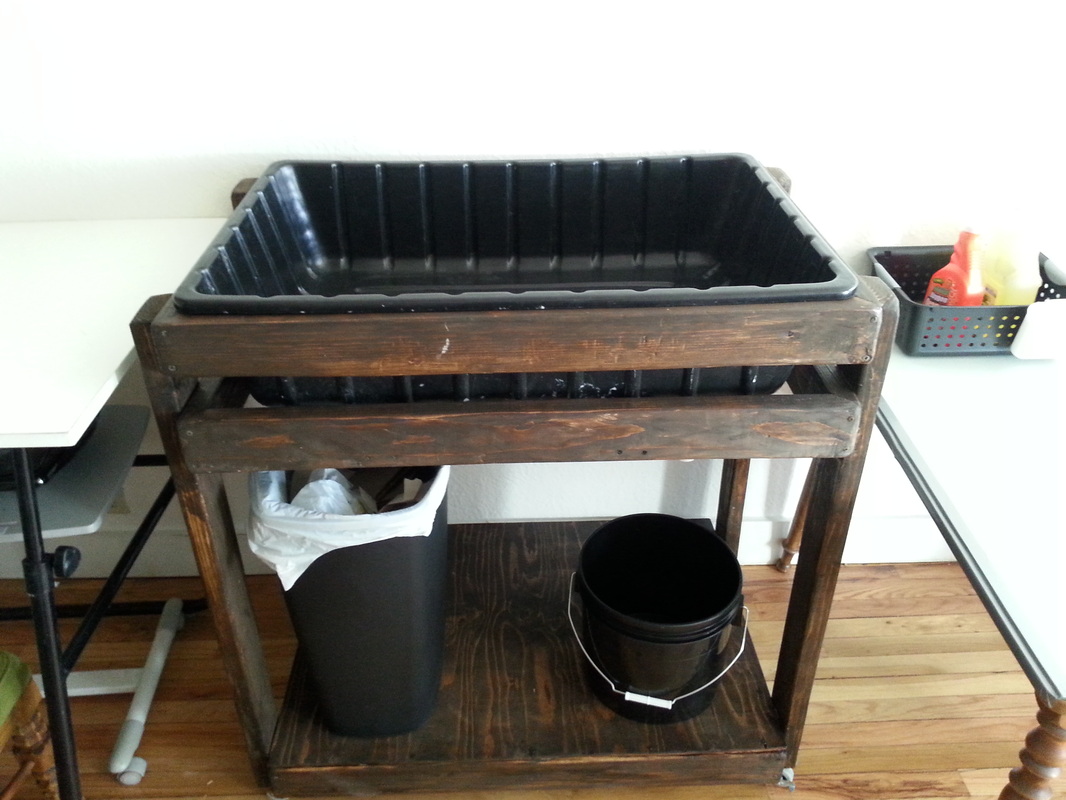
Our unusual set up required a little thinking outside the box. Because we don't have running water in the studio- something I've always taken for granted- and very limited space around the sink down the hall, I needed to find a way to make etching a reality but not an inconvenience. I reached out to the printmaking community for possible solutions and they responded! The Facebook page SHOW ME YOUR PRINT SHOP was extraordinarily helpful. Kristen Necessary ran into a similar problem in her studio and built this nifty etch station. We are putting one together for Mad Deer and the total cost so far is around $60.
We also built a sink station for inside the studio to soak paper in. Water can be drained out the bottom into a bucket. It's a little primitive but it works!
Now the fun stuff! Here are some of the issues I ran into:
Moving the Press:
These things are really heavy. It took 6 bodies to get ours up the flight of stairs and into the studio. And that is after we took the bed off and disconnected it from the table! We also needed to borrow a trailer to move it across town.
Drying Paper:
We might be able to fit drying racks in our space but a) they are crazy expensive- even used and b) I like having room to move. So I think what we might do is a technique I learned at Oehme Graphics where you pin your print directly to the wall to dry. Putting thumbtacks every couple inches around the edge forces the paper flat as it dries. Of course we can't pin into the wall of a rented space so the plan right now is to buy some homasote- a material sort of like cork board. Then we can poke it full of holes without wrecking the wall.
Dry Studio:
Our unusual set up required a little thinking outside the box. Because we don't have running water in the studio- something I've always taken for granted- and very limited space around the sink down the hall, I needed to find a way to make etching a reality but not an inconvenience. I reached out to the printmaking community for possible solutions and they responded! The Facebook page SHOW ME YOUR PRINT SHOP was extraordinarily helpful. Kristen Necessary ran into a similar problem in her studio and built this nifty etch station. We are putting one together for Mad Deer and the total cost so far is around $60.
We also built a sink station for inside the studio to soak paper in. Water can be drained out the bottom into a bucket. It's a little primitive but it works!

Financial Cuts and Solutions:
Because we didn't reach our goal in funding the studio, I had to trim some things and come up with work arounds for others. I cut the visiting artist program (temporarily!) but I also pulled back our "buffer rent". Instead of having funds set aside to see us through the first 6 months we are starting with about 1 month's rent in reserve once the studio is up and running. I also started looking around for more cost effective ways to tackle studio problems. Firstly, almost every single thing in the studio came from Craigslist, Habitat for Humanity or was donated. It is pretty amazing what you can find used, even in a somewhat isolated community!
Because we didn't reach our goal in funding the studio, I had to trim some things and come up with work arounds for others. I cut the visiting artist program (temporarily!) but I also pulled back our "buffer rent". Instead of having funds set aside to see us through the first 6 months we are starting with about 1 month's rent in reserve once the studio is up and running. I also started looking around for more cost effective ways to tackle studio problems. Firstly, almost every single thing in the studio came from Craigslist, Habitat for Humanity or was donated. It is pretty amazing what you can find used, even in a somewhat isolated community!
|
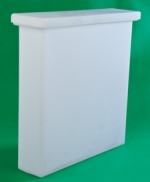
Etch Tank:
I decided to scale down here, figuring our space is small anyway, we probably can make do with a modestly sized etch tank. I ordered a 3 gallon 18x18x2" molded polyethylene tank ($78). And a lid ($21). Sold separately. From USPC. With shipping it came to $111. The ZAcryl tank would have been about $225 with shipping. This tank does not come with the stabilizers the ZAcryl has so you will need to construct some sort of support to keep it from tipping over. |
|
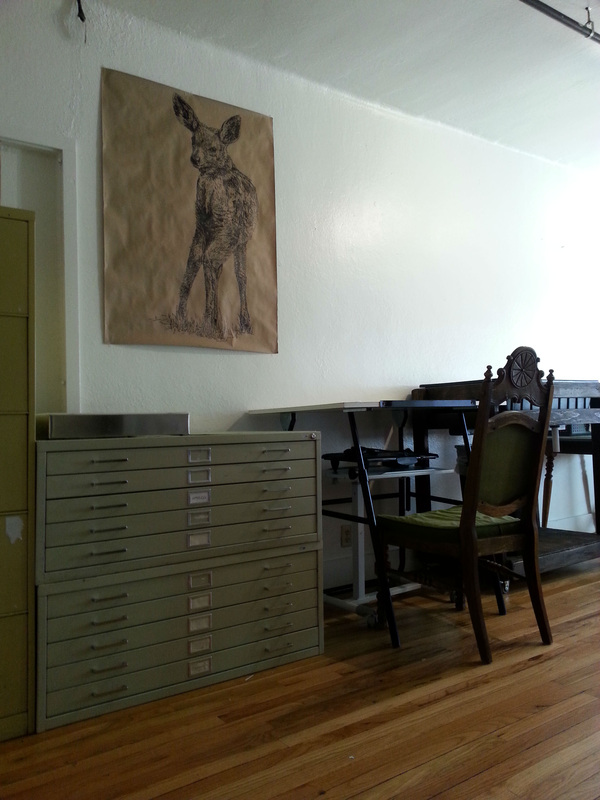
Lockers:
Plan #1 was to buy lockers on Craigslist for a couple hundred dollars. But that was crazy. Regular filing cabinets work just as well and you can find them for as low as $10-$15 on Craigslist (or free by the side of the road sometimes)!
Flat Files:
Initially I was planning to work around having flat files- until a deal popped up that was too good to be true- but here are some affordable flat file alternatives.
-The first comes to us from Village Press Print Studio in Magdelena, NM. An answer that may have been staring you in the face- just one of those plastic grey shelves typically used in garages with the legs chopped off- probably would work pretty well for paper drying too.
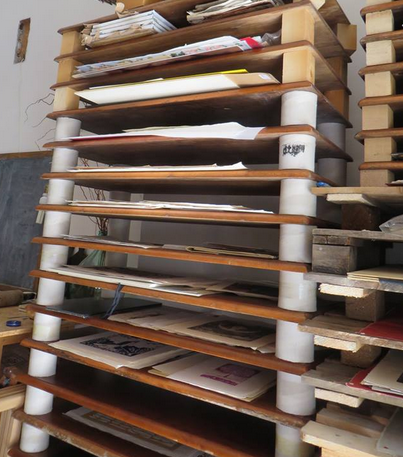
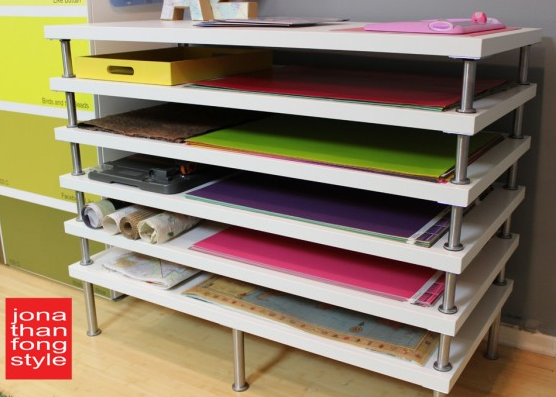
The second is all the way from Castiglio Fiorention, Italy. Beautiful in it's simplicity- sheets of what look like plywood separated by PVC pipe or wood blocks.
If you like the last design, which is quite lovely, follow this link. It is slightly more expensive but nicer looking. All the materials come from Ikea.
Plan #1 was to buy lockers on Craigslist for a couple hundred dollars. But that was crazy. Regular filing cabinets work just as well and you can find them for as low as $10-$15 on Craigslist (or free by the side of the road sometimes)!
Flat Files:
Initially I was planning to work around having flat files- until a deal popped up that was too good to be true- but here are some affordable flat file alternatives.
-The first comes to us from Village Press Print Studio in Magdelena, NM. An answer that may have been staring you in the face- just one of those plastic grey shelves typically used in garages with the legs chopped off- probably would work pretty well for paper drying too.
The second is all the way from Castiglio Fiorention, Italy. Beautiful in it's simplicity- sheets of what look like plywood separated by PVC pipe or wood blocks.
If you like the last design, which is quite lovely, follow this link. It is slightly more expensive but nicer looking. All the materials come from Ikea.

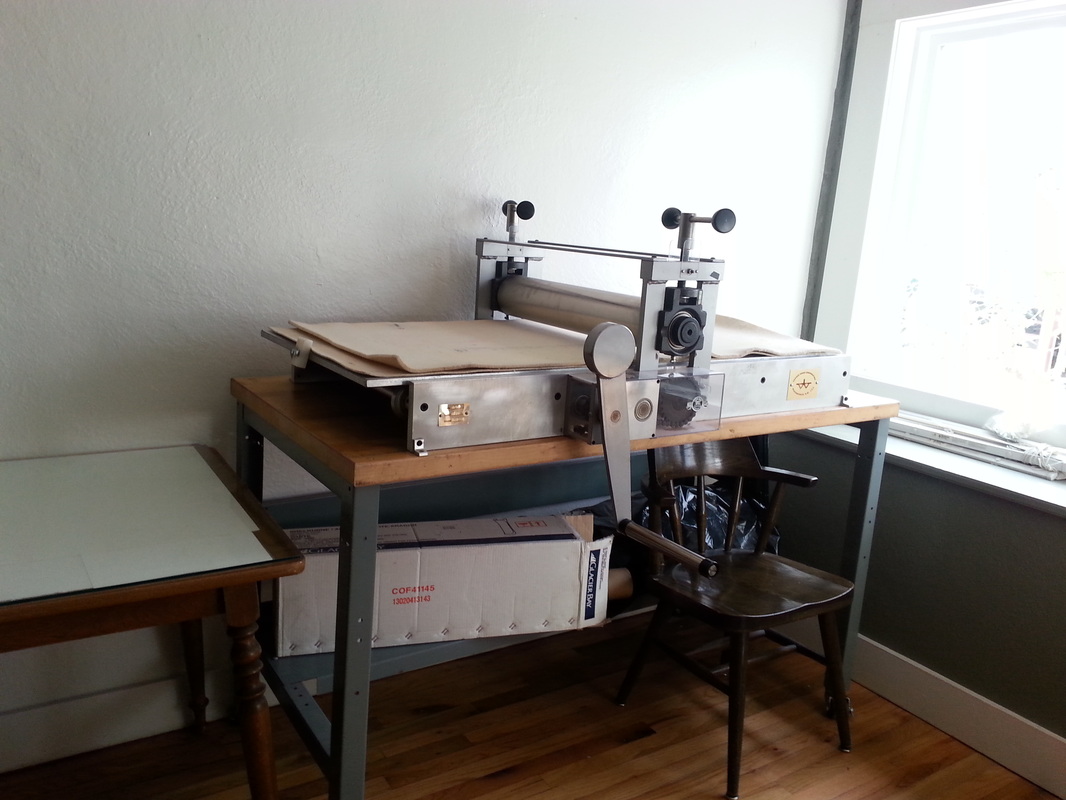
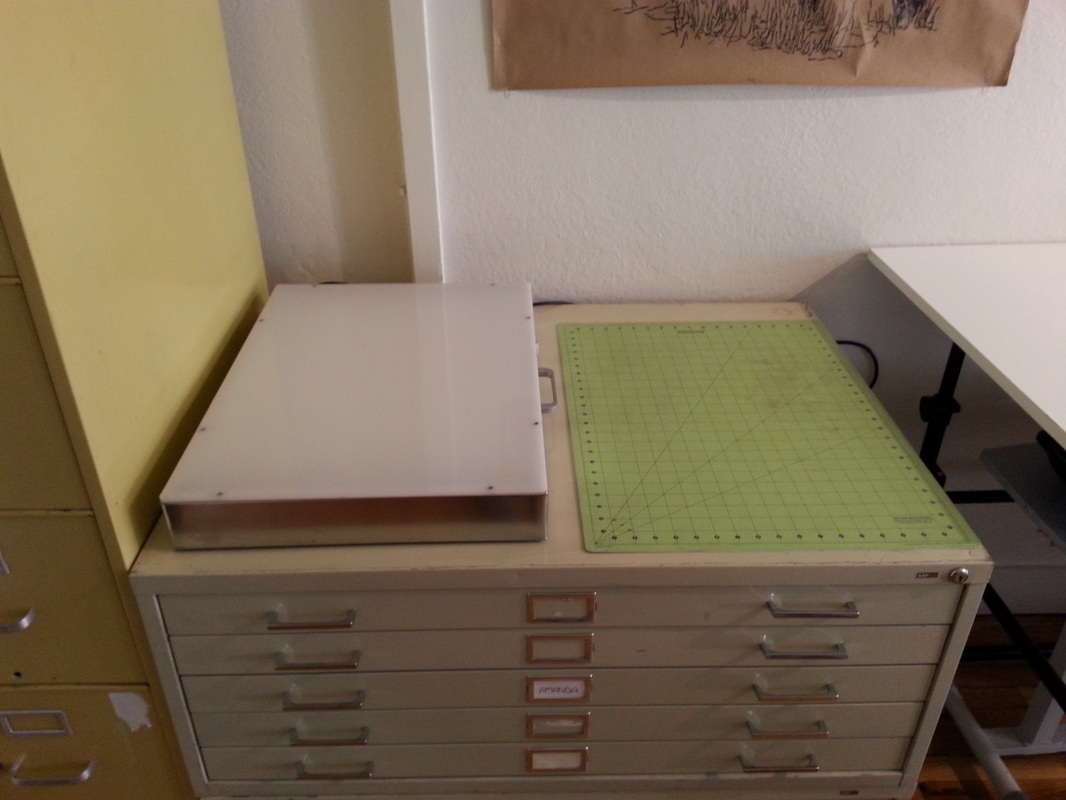
Light Table:
I had decided initially to build this by hand, and then put that on hold when I cut the budget, but one showed up on Craigslist for $20. There is a lot more second-hand screen print equipment than anything else because of its commercial application. Just keep checking!
I had decided initially to build this by hand, and then put that on hold when I cut the budget, but one showed up on Craigslist for $20. There is a lot more second-hand screen print equipment than anything else because of its commercial application. Just keep checking!
|
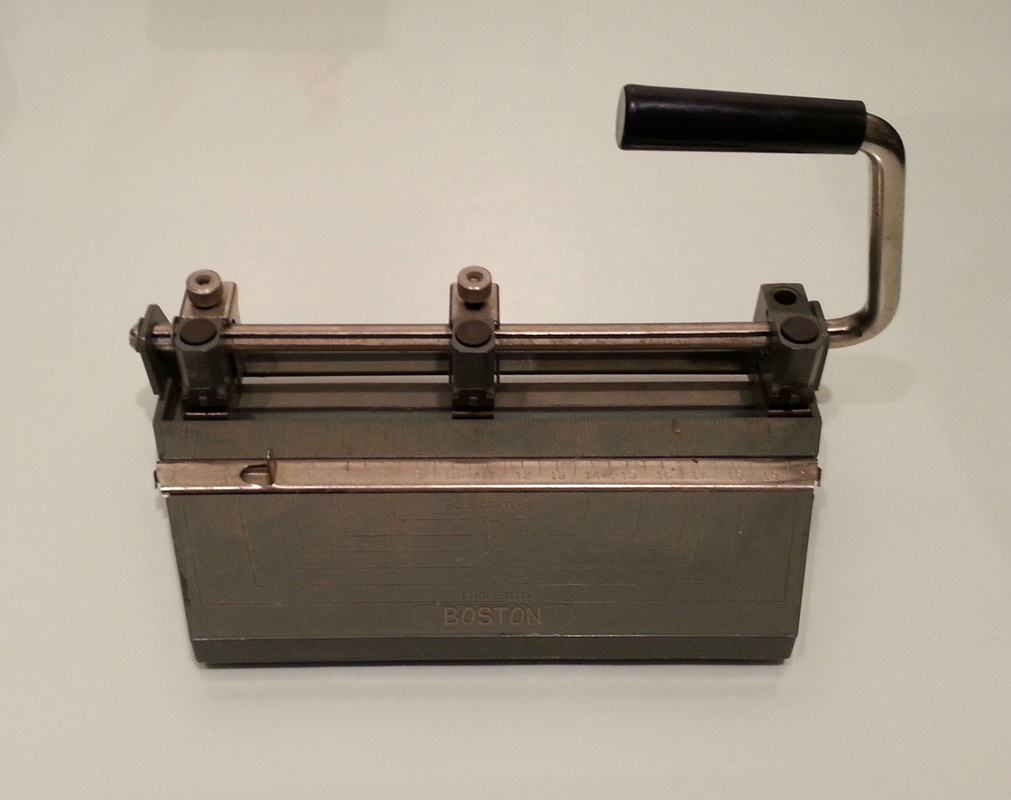
Punch Registration:
This is a pretty simple (and probably common) hack. Instead of buying the $300 punch registration system you can use a 3 hole punch. Ours is pretty old but I ordered this one on Amazon for where I teach and it works great. It is a little more industrial in case you need to punch aluminum plates. For pins I ordered .281" (9/32") diameter and .070" height and they fit perfect (I like the lower height for linocuts). They are stupidly expensive but I have heard tell that if you have access to a 3D printer you can make them yourself. Our college just ordered one so I will experiment and report back. |
|
